
A lash lift is one of the most requested treatments in the salon because it works entirely with the client’s natural lashes: no fibres, no adhesive left on the lash. Instead, it reshapes each lash from the root so it sits higher, curls more and looks longer. This guide covers what happens chemically inside the lash, the general step-by-step, the processing times manufacturers publish, how to pick the right shield, patch testing, contraindications and aftercare.
All times in this guide are indicative and come from manufacturers. The instructions in the kit you are using always take priority.
What is a lash lift?
It is a semi-permanent treatment in which the natural lashes are laid over a silicone shield stuck to the eyelid and reshaped with two products: a lotion that softens the structure of the hair and a fixing lotion (neutraliser) that sets it in its new shape. Healthline describes it as lifting your lashes without leave-on chemicals or extensions. It does not add length, but lifting the lash from the base makes it far more visible.
How a lash lift works: reduction and oxidation
Lashes are made of keratin. Their shape is held by weak bonds (hydrogen and salt bonds), which re-form on their own, and by disulfide bonds (–S–S–), the only bonds a perm changes permanently. A lash lift works just like a hair perm:
- Step 1 – Reduction (lifting lotion). A reducing agent breaks some of the disulfide bonds. The most common are salts of thioglycolic acid (ammonium or ethanolamine thioglycolate) at an alkaline pH.
- Step 2 – Oxidation (fixing lotion or neutraliser). Usually hydrogen peroxide based, it stops the reducing agent and re-links the disulfide bonds in their new, curled position. Cut this step short and the curl will not hold.
- Step 3 – Nourishing (depending on brand). A conditioner applied after the fixer (and after tint, if used).
Thioglycolate vs cysteamine
Alongside thioglycolate, more and more lotions use cysteamine HCl, which also breaks disulfide bonds. Manufacturers market these as gentler and lower-odour than thioglycolate, and some combine both actives. Bear in mind those benefits are the brands’ own claims: we found no independent studies comparing the two on lashes. Always read the INCI list and stick to each product’s own timings.
What EU regulation says
In the EU, thioglycolic acid and its salts are regulated under Annex III of Regulation (EC) 1223/2009. Regulation (EU) 2015/1190 allowed them in eyelash-waving products at up to 11%, for professional use only, following the Scientific Committee on Consumer Safety, which advised against consumer use because of the risk of eye irritation during self-application. The label must tell users to rinse the eyes immediately if the product comes into contact with them. In practice, a lash lift is a salon service, not a DIY treatment.
What you need
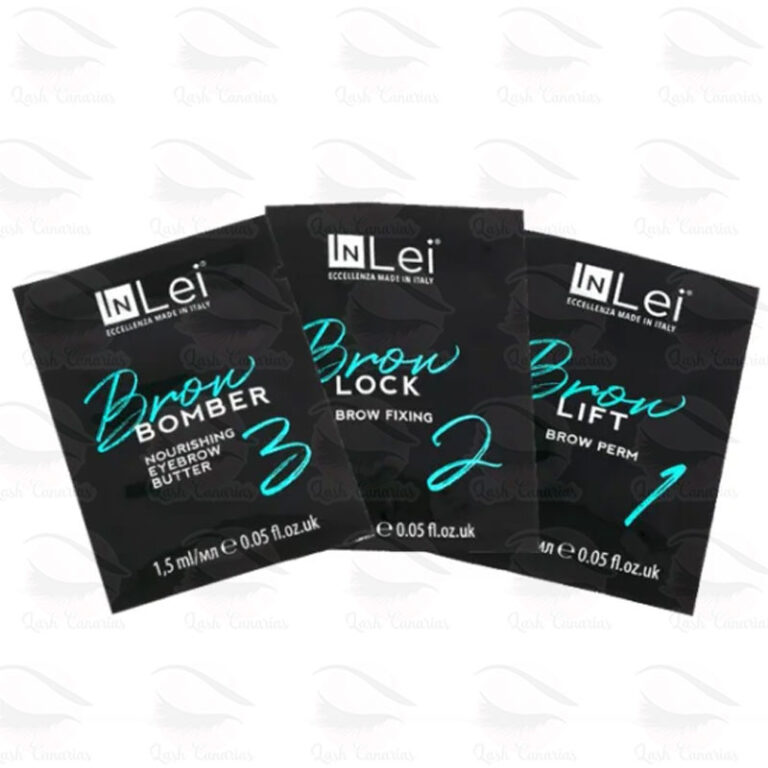
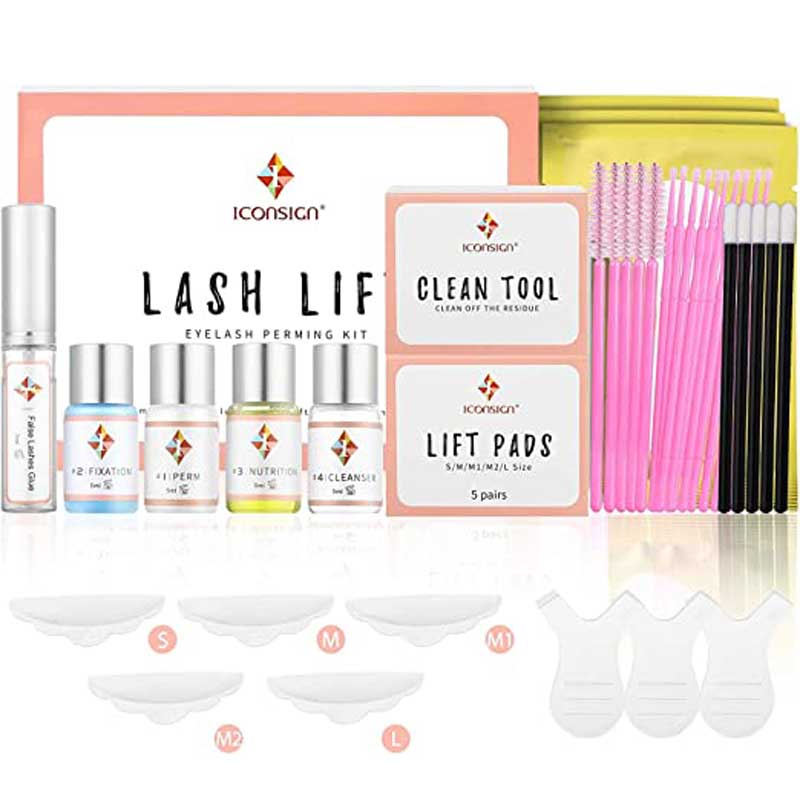
- A lash lift kit or lotions from a single brand (step 1, step 2 and nourishing step). Our Lamination range includes, for example, the InLei lash lift kit, the Lash Lift Kit, the Lash & Brow Lift Kit and individual Iconsign steps (Step1 Perm Lotion, Step2 Fixation, Step3 Nutrition).
- Silicone shields in several sizes and the adhesive or balm used to hold the lashes on the shield.
- Protection for the lower lashes: hydrogel patches or tape, both in Accessories.
- Disposable applicators: micro brushes, cotton buds and disposable spoolies.
- Cling film (if the brand calls for it), a timer and cotton pads.
Do not mix steps from different brands: InLei warns that it gives unpredictable results, and some lotions state they must only be used with their own fixer.
How to choose the right shield size
Shield size is chosen mainly by the length of the natural lash and the shape of the eyelid. Sizing charts differ between brands, so treat this as a starting point:
| Natural lash | Suggested size | Notes |
|---|---|---|
| Short or downward-growing | S or SS | Flatter; lift from the base |
| Medium | M | The most versatile; also useful for thick or heavy lashes |
| Medium to long | M or L | Balanced lift |
| Long, client wants more curl | M or S | Going down a size gives more curl |
| Very long | XL, with caution | May only give a mild curl |
- Quick test (LashBase): using a dry applicator, push the lashes onto the shield. If they go over the body of the shield onto the flap, size up; if they stop short of the edge, size down.
- Hooded or deep-set lids usually suit rounder shapes.
- Avoid reusing shields: they can lose their shape, stain with tint and may not disinfect properly once scratched.
Lash lift step by step
This is the general outline; details such as cling film or how each product is removed depend on the brand.
- Consultation and patch test beforehand (see below). Check the eyes are healthy, free of make-up, irritation or infection.
- Cleanse the lashes and lid to remove oil and make-up residue.
- Protect the lower lashes with a patch or tape.
- Place the shield on the lid, as close to the lash line as possible.
- Comb and secure the lashes onto the shield, separated and with no crossovers, using the brand’s adhesive or balm.
- Step 1 (lotion) on the area the manufacturer specifies. InLei’s Lash Filler protocol, for instance, says to apply it 1.5–2 mm from the root. Remove as instructed.
- Step 2 (fixer) on the same area, for its own time, then remove.
- Tint (optional). In the usual protocols it goes on after the fixer, with the lashes still on the shield.
- Nourish and gently remove the shield without pulling the lashes.
Indicative processing times from manufacturers
Timing depends on lash thickness and resistance: the thicker, stiffer or straighter the lash, the longer step 1 needs. These are examples published by brands, not a general rule:
| Protocol (source) | Step 1 | Step 2 |
|---|---|---|
| InLei Lash Filler – Form 1 / Fix 2 (InLei blog) | 6–14 min for fine, medium or thick lashes | Half the step 1 time |
| InLei Form 1 / Fix 2 (distributor product page) | 6, 8, 10 or 12 min | Half of step 1 + 1 min (e.g. 8 min → 5 min) |
| LashBase Lifted. Lift 1 (manufacturer page) | 10–11 min fine · 12–13 min normal · 14–15 min coarse | 6–7 · 8 · 9–10 min |
The figures do not match across brands, so never carry timings over from one product to another. Several guides recommend checking halfway through step 1 whether the lash is already flexible enough.
Patch testing before the first lash lift
A patch test is recommended for new clients. A typical protocol (Elleebana):
- Do it at least 48 hours before the appointment (other sources say 24–48 hours).
- Apply a small amount of each product (lotion and adhesive) behind the ear or on the inner elbow with a disposable micro brush, leave for about 10 minutes, then remove.
- If redness, swelling, itching or irritation appears over the following hours, do not go ahead with those products; the client should see a healthcare professional.
- Record the date and result on the client’s record card.
A negative result does not guarantee there will be no reaction during the treatment, which is why a signed consent form is also advisable.
Contraindications
Professional consultation forms recommend postponing, or getting medical clearance, in cases such as:
- Eye infection or inflammation: conjunctivitis, blepharitis, watery or irritated eyes.
- Recent eye surgery (for example LASIK or blepharoplasty).
- Active skin conditions or broken skin on the eyelid.
- Known allergy to perm lotions, adhesives or tints, or a positive patch test.
- Worth checking with a doctor first: chronic dry eye, pregnancy or breastfeeding, recent chemotherapy.
- Damaged, gappy or extremely short lashes: the result may not be worth it.
Cleveland Clinic and Healthline list allergic reactions, irritation if product gets into the eye, and damage from over-processing or repeating the treatment too often among the risks. If there is intense itching, swelling or pain during or after the service, remove the product, rinse and see a healthcare professional.
Aftercare
- Keep the lashes dry for 24–48 hours (sources vary): the treatment can take up to 48 hours to set.
- Avoid steam, saunas and swimming for the first 48 hours, and avoid rubbing the eyes.
- Avoid waterproof mascara, eyelash curlers, oils and oil-based removers around the eyes. A little regular mascara is fine once that initial period is over.
- After the initial period, keep the area clean: Cleveland Clinic warns that not cleaning the lashes lets debris build up and invites infection. A lash shampoo (see Glue & Liquids) is one option.
How long it lasts and how often to repeat
Healthline puts the typical duration at 4–6 weeks, and some guides say up to 6–8. Each lifted lash keeps its curl until it is replaced. Because every lash follows its own cycle (a clinical dermatology review estimates a growth phase of around 4–10 weeks and a resting phase of 4–9 months), the lift fades gradually.
There is no official minimum interval; Cleveland Clinic warns against repeating it continuously. As a reference, InLei’s Lash Filler protocol spaces sessions 4 to 6 weeks apart. The sensible approach is to wait until the previous lift has grown out and assess the condition of the lashes before repeating.
Lash lift vs lash extensions
| Lash lift | Lash extensions | |
|---|---|---|
| What it does | Reshapes the natural lash | Adds synthetic lashes bonded one by one |
| Length and volume | No extra length; the lash shows more once lifted | Adds length and density |
| Product on the lash | Lotions that are removed; no adhesive on the lash | Cyanoacrylate adhesive |
| Maintenance | No infills; repeat once grown out | Regular infills (often every 2–3 weeks) |
| Best for | Decent natural lashes that need enhancing | Short or sparse lashes, or a bolder look |
If you also offer extensions, you will find everything you need in Lashes and Glue & Liquids.
Common mistakes
- Over-processing: leaving the lotion on longer than instructed leaves lashes frizzy or damaged.
- Wrong shield size: bent, angled or under-curled lashes.
- Crossed or badly combed lashes on the shield: an uneven result.
- Taking lotion to the tips when the manufacturer says not to.
- Mixing brands or using another product’s timings.
- Skipping the patch test or consultation.
Lash Canarias supplies mentioned in this guide
- InLei – Lash Lifting Kit
- Lash Lift Kit
- Step1 Perm Iconsign
- Step2 Fixation Iconsign
- Under Eye Gel Patches
- Microbrushes 100
- Disposable Brush For Lashes and Eyebrows
- Lash Shampo
Frequently asked questions
How long does a lash lift last?
4 to 6 weeks according to Healthline; some sources say up to 8, depending on each person’s growth cycle and aftercare.
Can I do a lash lift at home?
In the EU, eyelash lotions containing thioglycolic acid are authorised for professional use only (Regulation (EU) 2015/1190) because of the risk of eye irritation when self-applied. It is a treatment for a trained professional in a salon.
How long do I need to keep my lashes dry?
Sources recommend 24 to 48 hours without water, and avoiding steam, saunas and swimming for the first 48 hours. Follow your technician’s advice for the product used.
Can I have a lash tint in the same appointment?
Yes, that is standard: the tint goes on after the fixer while the lashes are still on the shield, followed by the nourishing step. The tint should also be included in the patch test.
Which is better, cysteamine or thioglycolate?
Both break the disulfide bonds in keratin. Manufacturers present cysteamine as gentler and lower-odour, but we found no independent studies comparing them on lashes. What matters most is following each product’s timings and not mixing brands.
Sources
- Commission Regulation (EU) 2015/1190 (OJ L 193, 21.7.2015)
- Biorius – A new allowed use of thioglycolic acid and its salts
- Permanent Wave Chemistry: Disulfide Bonds & Waving Lotions
- Elleebana – Brik & Pearl (ATG, cysteamine and peroxide neutraliser)
- Easy Lift Pro – Gentle lash lift lotions (cysteamine vs thioglycolate)
- InLei – Lash Filler: how it works and how to do it
- Browstar Cosmetics – InLei Form 1
- Browstar Cosmetics – InLei Fix 2
- LashBase – Lifted. Lift 1 (timings by lash type)
- Cosmetics Business – How to choose the right lash shield size
- Tatti Lashes – Medium Lash Shields
- LashBase – How to choose the right lash lift shield
- Elleebana – Patch testing for lash and brow services
- Cleveland Clinic – Are lash lifts safe?
- Healthline – How long does a lash lift last?
- Nguyen, Hu, Tosti – Eyebrow and Eyelash Alopecia: A Clinical Review (Am J Clin Dermatol)
- Lash Lift – consultation and consent form (Jotform)
- Lash Affair – Lash extensions vs lash lifts