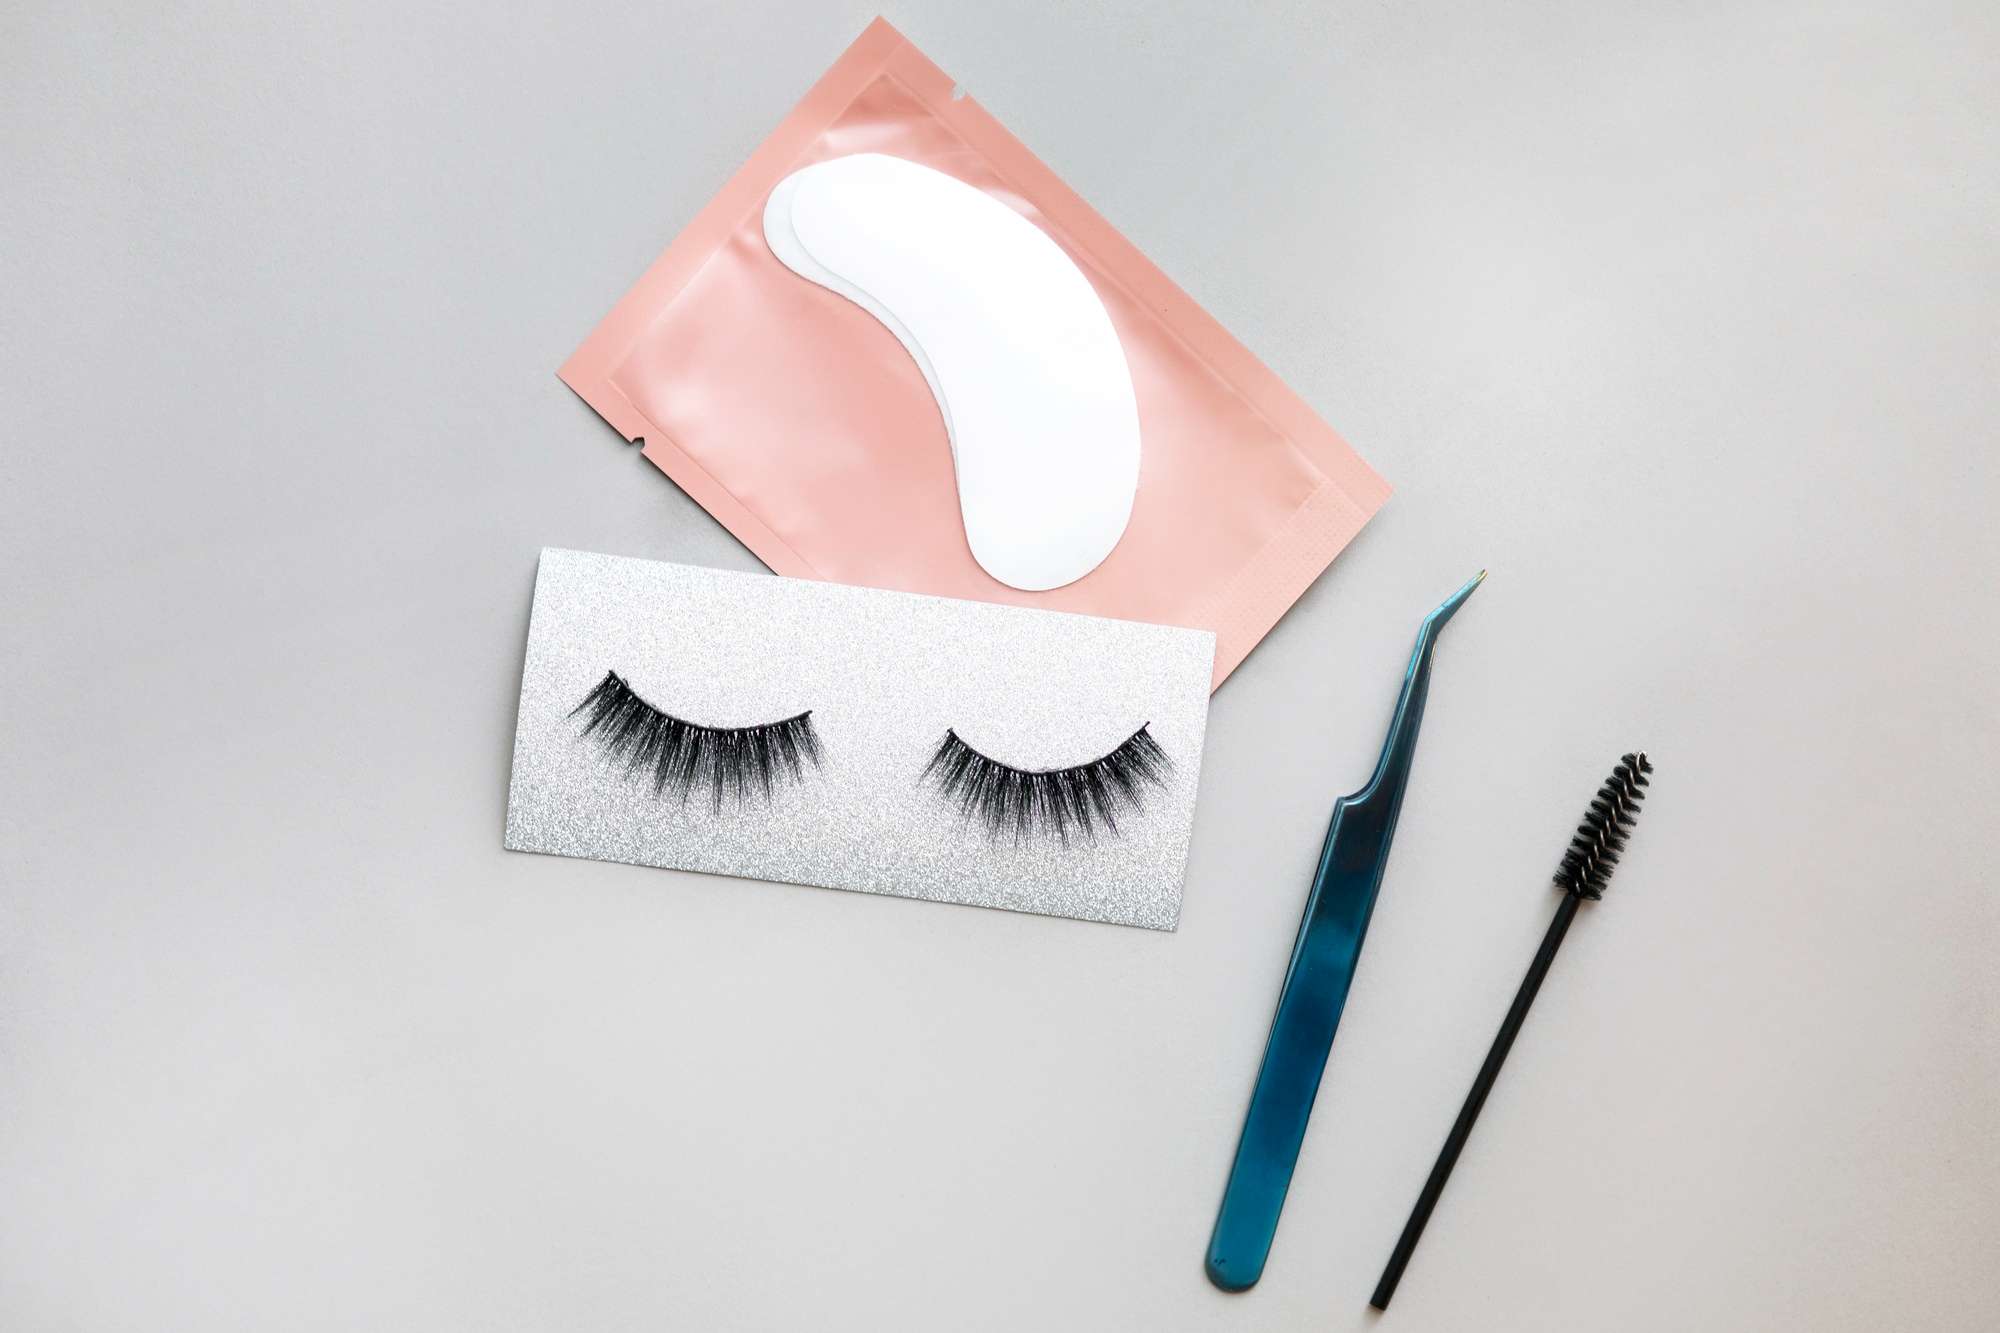

When you’re starting out as a lash artist, it’s easy to overspend on things you don’t need and skimp on the ones that matter. This list covers the eyelash extension supplies you genuinely need to work safely from day one: tweezers, lashes, adhesive, primer, remover, gel pads and tape, a hygrometer, lighting, a lash bed and disposables. At the end you’ll find what’s essential and what can wait until you have regular clients.
Before the kit: training
No kit replaces a proper course with supervised practice. Isolation, placement, mapping, choosing thickness and length, safe removal and spotting reactions are all learnt with someone correcting your technique. Beginner guides also recommend practising on a mannequin head as often as you can, setting yourself time limits to build speed and precision without the pressure of a real client. Before you open your treatment room, check which requirements apply where you’ll be working.
Eyelash extension supplies: the essentials
1. Tweezers: one for isolation, one for placement
You work with two pairs at once. In your non-dominant hand you hold the isolation tweezers, which separate a single natural lash from the rest; in your dominant hand, the placement tweezers, which pick the extension up from the adhesive and set it on the natural lash. Lash Affair recommends starting with a two-tweezer set for classic (a fine straight pair and a curved pair) and mastering it before you buy volume tools.
The tip shapes you’ll come across:
- Straight: the classic isolation tool. The tips must close perfectly: any gap leads to imprecise isolation and stickies.
- Curved or angled (usually around 45°): the go-to for picking up and placing classic extensions. Some artists isolate with them too, because they let you rest your wrist with less strain.
- Boot (volume): a larger surface at the tip to pick up several fine fibres without the fan collapsing. Made for volume and mega volume, not for isolating.
- Fibre tip: a textured inner grip that holds ultra-fine lashes (0.03 to 0.07) without slipping. If you struggle to pick up fans, they’re worth a try.
Treat them as the precision tools they are: a single drop onto a hard surface can knock them out of alignment. Keep them in a case or holder, wipe adhesive residue off the tips after every client with a lint-free wipe and remover, and don’t use acetone on coated or coloured tweezers, as it can strip the finish. Disinfect them between clients following the instructions of the disinfectant you use. You’ll find straight, curved, volume and fibre-tip models in our tweezers range.
2. Lashes
You don’t need every curl and diameter to start. Lash Jungle recommends C and D curl trays, with 0.15 mm as the most popular classic diameter, and, if you’ll be using premade fans, starting with 3D in 0.07. Sources disagree on format: some suggest mixed-length trays, others single-length trays (12, 13, 14 and 15 mm) so you don’t run out of the sizes you use most. A sensible approach is one mixed tray for practice plus single-length trays in the lengths you repeat most. Classic, volume and premade fans are all in our lashes section.
3. Adhesive
A classic mistake: buying the fastest, strongest adhesive “because it lasts longer”. Lash Jungle advises beginners to do the opposite and choose one that suits their working speed and the humidity and temperature of their room. Buy small bottles (5 ml is standard), because adhesive loses effectiveness once opened; the manufacturer LABA, for example, states 30 days from opening for its adhesives. Always check the technical data for the specific adhesive you use. Our Glue & Liquids category has Neicha and Lovely adhesives, plus primers and removers.
To work with the adhesive you’ll also need somewhere to put the drop: glue rings, a jade stone or a palette, whichever you prefer.
4. Primer
Primer cleanses the natural lash and helps retention. Lash Jungle notes you could skip it if you cleanse with a lash shampoo, but when you’re starting out it’s an easy step that removes one variable when something won’t stick.
5. Remover
You need it to remove extensions and fix mistakes. Removers come as gels, creams and liquids; according to Lash Jungle, cream is the easiest for beginners to control because it stays where you put it.
6. Gel pads and tape
Under-eye pads protect and hold down the lower lashes, and they’re where you draw your lash map. Tape (paper, Transpore or micro-foam) helps hold back stubborn lower lashes or lift the eyelid.
7. Hygrometer: essential in the Canary Islands
Cyanoacrylate adhesives cure by reacting with moisture in the air, so the humidity in your room changes how the adhesive behaves. Here’s what manufacturers and guides say:
- LABA (manufacturer): ideal between 40% and 60% relative humidity.
- Lash Affair: 40–60% as the ideal range; above 60% the adhesive can shock-cure, leaving white residue and brittle bonds; below 40% it cures slowly and you get more stickies.
- Temperature: Lash Affair gives around 20–24 °C (68–75 °F), with the sweet spot at about 21–22 °C.
Why does this matter so much in the Canaries? According to AEMET’s climate normals (1981–2010), average annual relative humidity in Santa Cruz de Tenerife is 63%, with monthly averages between 58% and 66%; at Tenerife North (La Laguna, 632 m) it rises to 73%, with months of up to 79%. Those are outdoor figures and your room may be very different, which is why you should measure indoors. A digital thermometer-hygrometer placed at the client’s head height tells you whether you need an adhesive designed for high humidity, a dehumidifier, or just a different time of day. You’ll find one in Accessories.
8. Disposables
Micro brushes, disposable mascara wands, lint-free applicators and cleansing wipes. Keep them in a closed box so they stay clean, and always use fresh ones for each client.
9. Your workstation: bed, pillow, stool and lighting
Your first appointments will be long, so client comfort (and your back) matters. Look for a bed you can slide your knees under, a pillow that keeps the head steady and a height-adjustable stool. Lighting should be dimmable and shadow-free: an ordinary desk lamp is a weak start. A small mirror helps you check direction and stickies during the set, and a handheld mini fan speeds up adhesive drying and makes the process more comfortable.
Tip: before blaming your technique for poor retention, check your hygrometer and the date you opened your adhesive. A lot of retention problems are environmental.
What’s essential and what can wait
| Essential from day one | Can wait |
|---|---|
| Isolation tweezers + placement tweezers | Volume and mega volume tweezers, spare pairs |
| Classic trays (C and D, 0.15) plus some 0.10–0.12 | Coloured lashes, special curls (L, L+, M), YY, flat |
| One adhesive suited to your level and your humidity | A second adhesive for other conditions, retention boosters |
| Primer and remover (cream is easiest to start with) | Lash shampoo to retail to clients |
| Gel pads, tape, disposables | Electric glue shaker |
| Hygrometer | Dehumidifier or humidifier (depending on your readings) |
| Bed, pillow, stool and good lighting | A high-end bed or lamp |
| Mannequin head for practice | Apron, bed covers and branding extras |
Starter kit or buy separately?
A kit saves you decisions while you still don’t know which tweezers or curl you prefer. Our starter kit brings together lashes, adhesive and liquids, tweezers and accessories; check its product page for exactly what’s included and top up with anything from this list it doesn’t cover (hygrometer, disposables, extra pads). Buying separately makes sense if your trainer has already recommended specific brands or models. Either way, buy small quantities at first: your preferences will change over the first few months. Small accessories (glue rings, tape, micro brushes, holders) are in Accessories.
Common mistakes when buying your first kit
- Choosing the fastest adhesive before you have the speed to work with it.
- Buying large bottles of adhesive that expire once opened before you use them up.
- Working without a hygrometer and blaming your technique for what is really humidity.
- Buying every curl and diameter before you know which ones you’ll use.
- Cutting corners on tweezers: if the tips don’t close properly, isolating becomes a constant battle.
- Ignoring comfort: poor posture and weak lighting take their toll over long sessions.
Client safety
The American Academy of Ophthalmology (AAO) points out that extensions carry risks: injury to or infection of the eyelid or cornea (from poor hygiene or damage during application), allergic reaction to the adhesive, and temporary or permanent lash loss. That’s why clean tools, fresh disposables and hygienic practice aren’t optional. The AAO recommends asking for a spot test of the adhesive on the inside of the wrist before treatment. If intense itching, redness, swelling or pain appears after an appointment, the extensions should be removed professionally and the client should see a healthcare professional.
Lash Canarias supplies mentioned in this guide
Frequently asked questions
What are the minimum eyelash extension supplies I need?
Two pairs of tweezers (isolation and placement), classic lashes, adhesive, primer, remover, gel pads and tape, something to hold the adhesive drop, disposables, a hygrometer, a comfortable bed and good lighting. Plus a mannequin head to practise on.
Which tweezers should a beginner buy?
A fine straight pair for isolation and a curved pair (around 45°) for picking up and placing. Once you’ve mastered classic, add a volume pair; if you struggle to pick up fans, try a fibre-tip model.
What humidity does lash adhesive need?
Many manufacturers and guides put the ideal range at 40–60% relative humidity, at around 20–24 °C. Every adhesive has its own technical data: check it and measure your room with a hygrometer.
How long does lash adhesive last once opened?
It depends on the manufacturer. LABA, for example, states 30 days from opening for its adhesives. That’s why small bottles make sense, and it’s worth writing the opening date on the bottle.
Is a starter kit worth it, or should I buy items separately?
A kit is practical while you’re still working out what you prefer. Check what it includes and fill any gaps. If your trainer has recommended specific products, buying separately gives you more control.
Sources
- Lash Affair – Lash Extension Tweezer Q&A
- London Lash – The Best Lash Tweezers: A Guide for All Lash Techs
- Lash Jungle – 6 Must-Have Tools and Supplies for Beginner Lash Artists
- Goldie – Must-have Lash Artist Equipment for Beginners
- Stacy Lash – The Beginner’s Guide to Lash Tech Training Materials
- Lash Affair – Hot for Humidity
- LABA – Eyelash Extension Adhesive All Access (product page)
- AEMET – Climate normals: Santa Cruz de Tenerife
- AEMET – Climate normals: Tenerife Norte Aeropuerto
- American Academy of Ophthalmology – Eyelash Extension Facts and Safety